
Purpose
This page outlines the steps for managing a graphic design project.
Application
The Project Manager, or whoever may be overseeing the graphic design project, should adhere to the graphic design management.
1. Data Collection
The first step is to book an onboarding meeting with the client to assess what they are looking for, what styles they like or do not like, and to tease out details for the project. This step can be completed once a contract is signed and a deposit has been paid.
2. Kick-Off & Assignment
The next step is to prepare all of these details into a design brief. If that has not been done yet, create a project in Teamwork. Put the design brief and any relevant details/files in the project for the graphic designer. Very clearly outline what the expectations are for the project, including time spent, file types required, "rounds" of back and forth, etc.
3. Project Management
Once the graphic designer has started the project, be prepared to post feedback and revisions on their work to make it client-ready. Once all relevant parties have approved it, send it to the client for feedback. Do this for as many "rounds" of graphic design as were warranted by the project type. If the client has relevant feedback, make sure you post it in Teamwork for the graphic designer to access readily.
4. Wrap Up
Once a finalized output has been agreed upon, ensure that the graphic designer has posted all the appropriate files in a shared Google Drive folder that can then be sent to the client. Post in Teamwork that the project is complete, and get the Office Admin to send an invoice. Express enthusiasm for working with the client, and ask for a Google review if you think it went well!
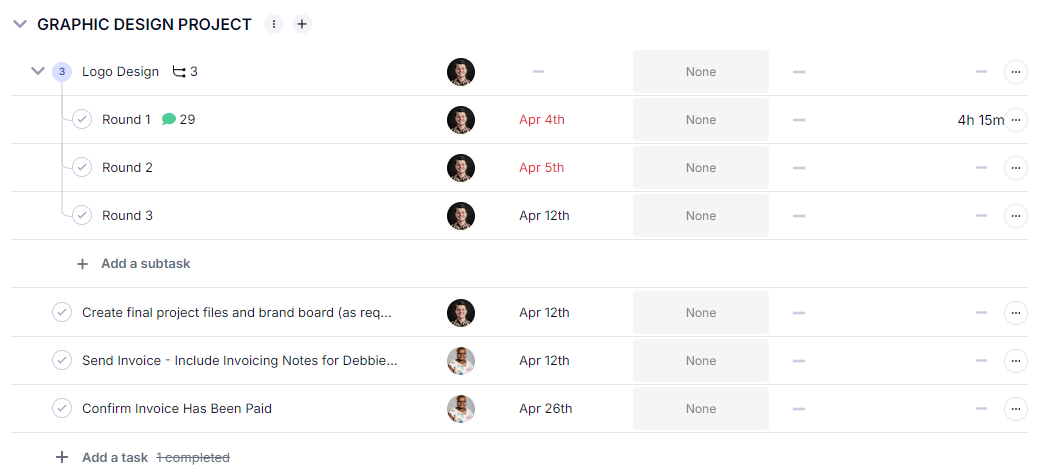
Here's what a Graphic Design Project task list looks like in Teamwork:
As long as you follow all of the steps, the project will basically manage itself!