
Purpose
This page will outline the steps to set up a new Google Ads account to ensure consistency when creating a new account.
Application
Creating a new account is a procedure that the Ads Manager is responsible for.
1. Adding an Account
If the account has not been added to the Buzz MCC Google Ads account yet, add it to the account manager. When naming the account, use the full business name and their geographical target (Canada, Kelowna, Okanagan, etc.).
Example: Kelowna Fruit Stand. Their service area is the general Okanagan.
Name: Kelowna Fruit Stand - Okanagan + Area
2. First Campaign
Start creating your first campaign with the already predetermined and strategized account structure. Set up the structure according to the strategy.
3. Keyword Research
Perform extensive keyword research before adding them to the campaigns and ad groups. Use SEMrush to get an overall idea of what keywords are popular for specific prompts and see their average CPC. Then go into the Google Keyword Research tool, narrow the search down to the accounts geo area, and sort by search volume.
4. Adding Keywords
When adding keywords to the ad group, use one match per ad group.
Example: Dental Emergency
Ad Groups:
Dental Emergency (P)
Dental Emergency (B)
Dental Emergency (E)
5. Create the Ads for Each Ad Group
Ensure the ad score is at a minimum 'Good' and the headlines and descriptions are relevant for the specific ad group. This is also a good time to add the business name and logo if we can do so at this time.
6. Create the Assets
Generally, structured snippets, site links, callouts, and call assets will need to be made.
7. Set the Location Targeting
Refer to the accounts onboarding form for this information. Ensure that if the target is close to the United States and the client is not targeting that country, you add it to the 'Excluded' locations.
8. Set Each Campaigns Daily Budget
Take the total monthly spend and divide it by 30. Then, distribute that amount across the campaigns.
9. Check Settings
Check that the settings of each campaign are correct, meaning the Target Locations and Bid Strategy. Also, ensure that the Auto-created assets are off.
10. Import Conversions
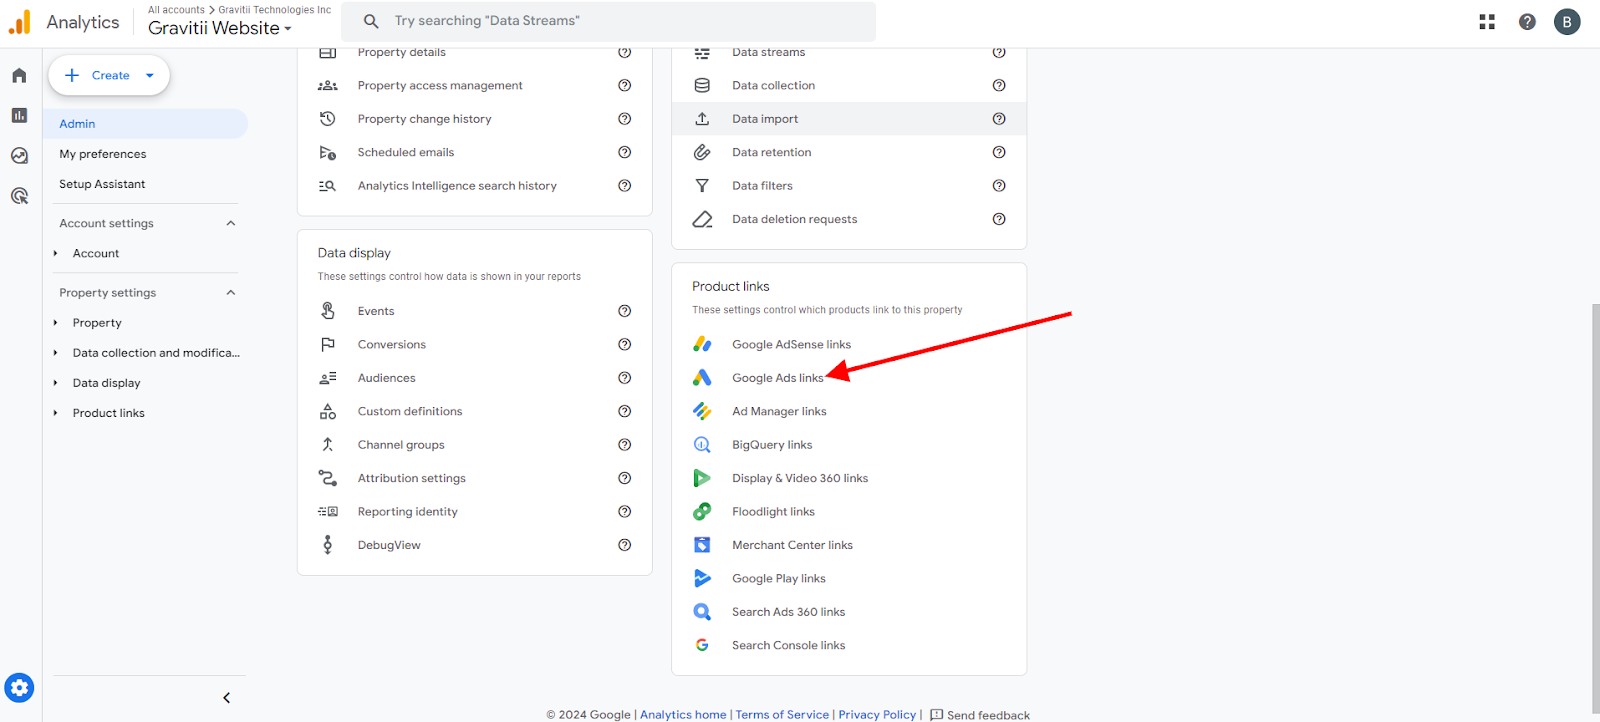
Now, you will need to import conversions. Start by logging into Google Analytics using the Buzz Marketing account. Go to the correct account and click the settings button.

Then click the Google Ads link.
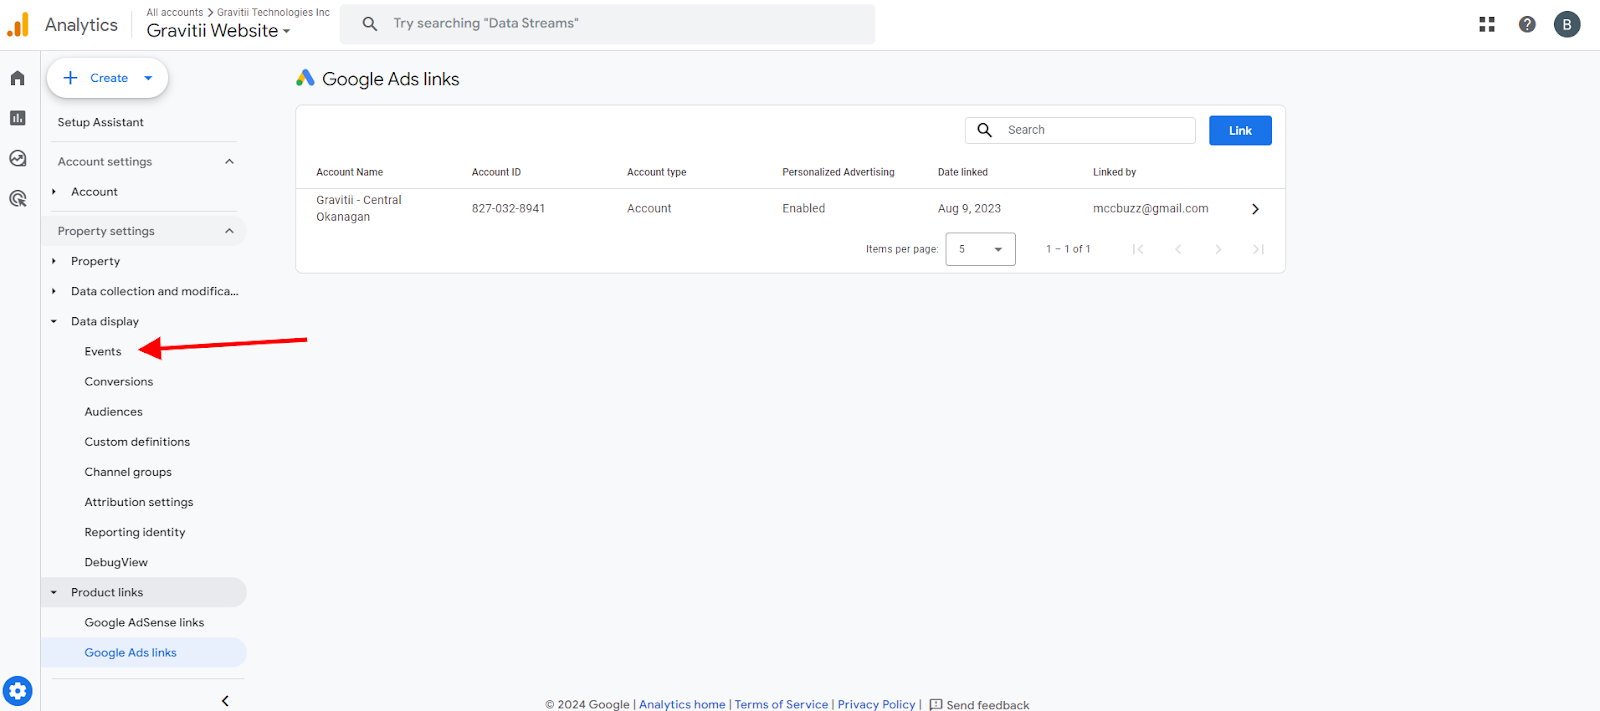
Next, under the Data Display, click Events.
Then, mark any significant Events as a conversion. This would include but is not limited to, important button clicks, form submissions, and others. Check under conversions to make sure they have been added.
* Note: If no events are displayed, see how recently analytics have been added to the website with a team member. If it has been within the last 24 hours, come back to this step the following day.
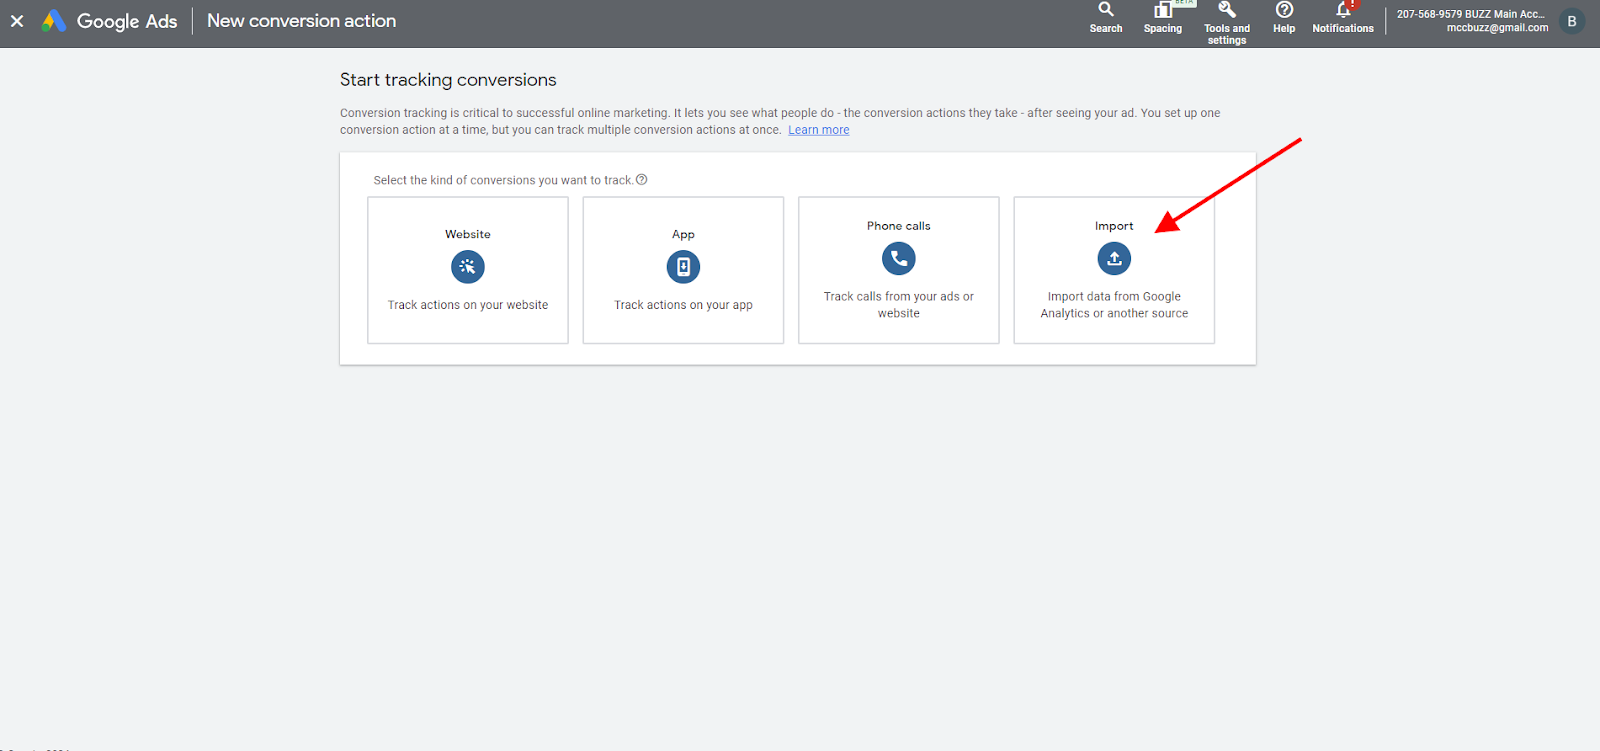
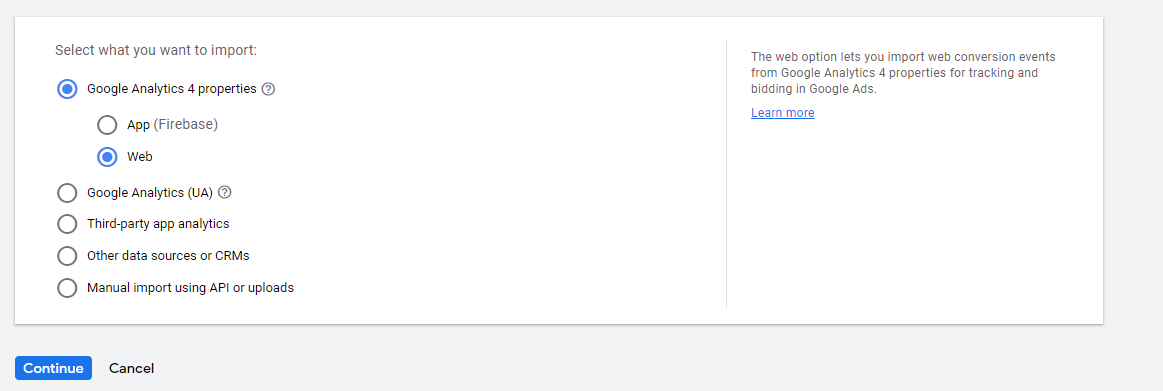
Now, it is time to import the conversions you have just marked into the account. To do this, go back into the ads account, click Tools and Settings, and then Conversions. Now click New Conversion Action, and proceed to click Import. Then, select Google Analytics 4 Properties, followed by Web, and then Continue. Afterward, select all the conversions you previously checked in the Analytics account. Once you have done that, click Import and Continue.
11. Create a Call for Conversion
Click New Conversion and then click Phone Calls. Then select Calls from ads using call extensions or call-only ads and click Continue. Next, name the conversion and set a value higher than 1. Select use the same value for each conversion. Under count, click One, set the call length to 15 seconds, leave the click-through window at 30 days, and attribution to data-driven.
12. Organize & Name Conversions
You will need to organize all conversions. Also, check and ensure the most important conversions (ex. calls and submissions) are set to primary and the other ones, such as button clicks, are set to secondary. Make sure that proper values have been set for the primary conversions. Name all the conversions in the following way:
What is it:
What source is the conversion coming from?
Example: Email Button Click - (GA4)
Also, make sure the conversions are set to the proper conversion category.
Click: Outbound Click
Form Submission: Submit Lead Form
Call: Phone Call Lead
13. Input the Structure
As a final step, you will take the account you have made, input the structure using the Buzz Google Ads Structure Template, and send it to the client. Go to the Google Drive - 7. Buzz Forms, then BOH Team Forms. Make a copy of the template and change the name to include the business name.
14. Send Client Message
Finally, send the client a message once the account goes live, along with a copy of the structure template. Make sure you record your time in Teamwork and write a brief overview of what you have done in the notebook. In the note, tag the Office Admin to get them to start a recurring bill. Also, message the Office Admin via Skype to inform them and ensure this gets actioned.