
Purpose
The procedure establishes a detailed framework for posting on Buzz Marketing clients' social media platforms. By following the procedure, you ensure consistency, timeliness, and effectiveness. This procedure outlines various aspects of social media management, including content planning, creation, scheduling, and analysis.
Establishing strategic posting strategies is essential to retaining our social media clients and creating an impactful social media presence for their businesses.
Application
These procedures apply to employees working on social media projects for clients.
1. Schedule a Kickoff Meeting
After the client signs up for a social media package, schedule a kickoff meeting with the graphic designer and sales director.
In the meeting, the following will be done:
- Go over the client's expectations for social media.
- Brainstorm ideas for 4 social media categories: Promoting, Engaging, Educational, and Entertainment.
- When brainstorming ideas, review their previous post and websites to evaluate the effectiveness of past content and identify non-engaging points for future improvement.
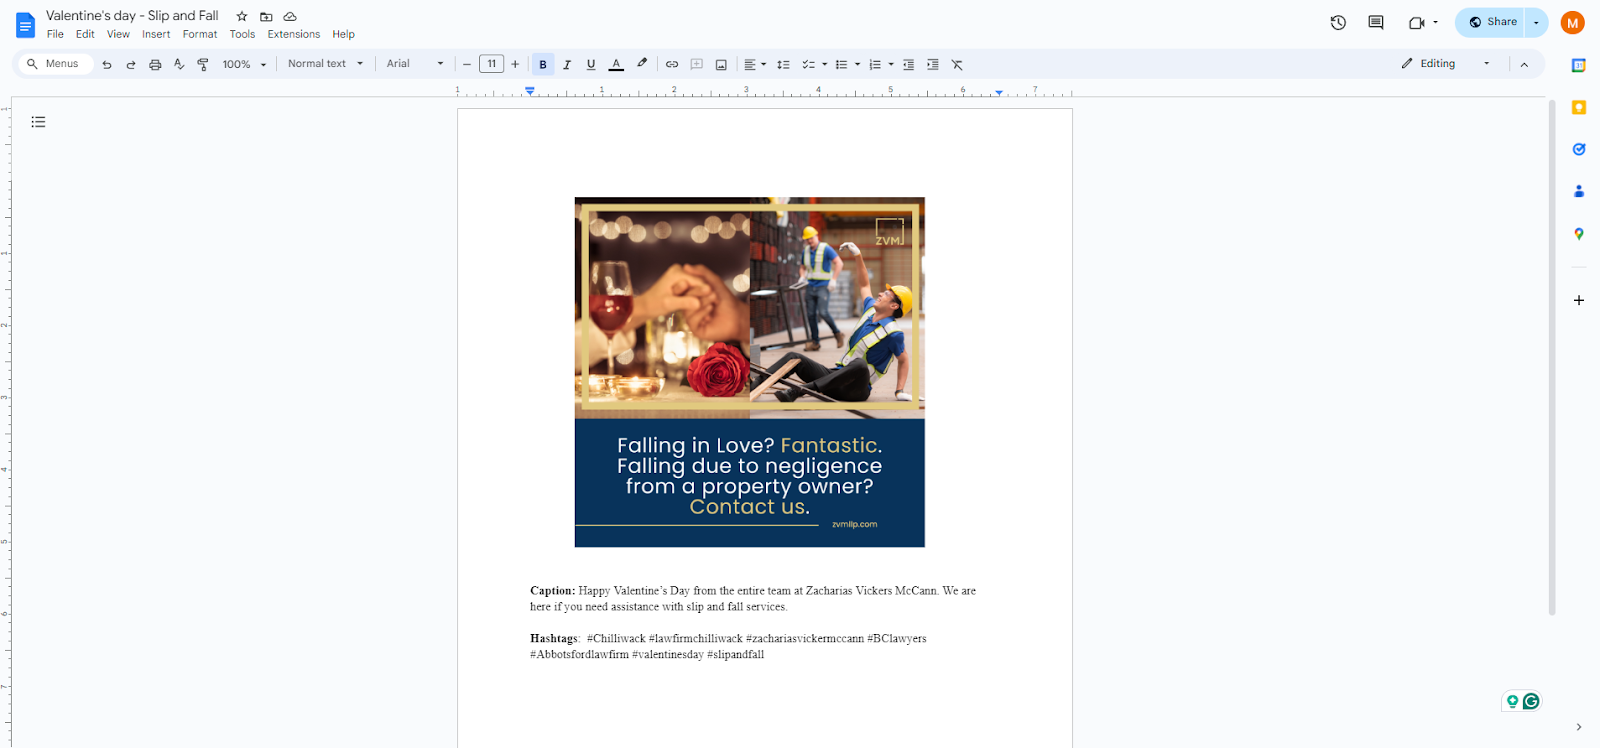
- For example, a non-engaging post can include simply stating their offerings. You could improve this post by creating a comparison post by relating their services to known holidays or incorporating visual representation. See images 1 and 2 for an example of one of our social media clients.
- Other ideas can include a weird story Wednesday, a testimonial Tuesday, the tip of the week, etc.
- During the brainstorming session, use ChatGPT to develop more unique content ideas. Use the following prompts to generate content ideas from the client service page.
- Come up with some ideas to turn the following information into social media content that highlights unique cases or a unique approach to (service name): ( copy-paste their service information below).
- Then, when there is a good idea, use the prompt: Help us come up with a social media post for (paste in the idea)
- After the meeting, add this list of ideas from the kickoff meeting to the Teamwork project.
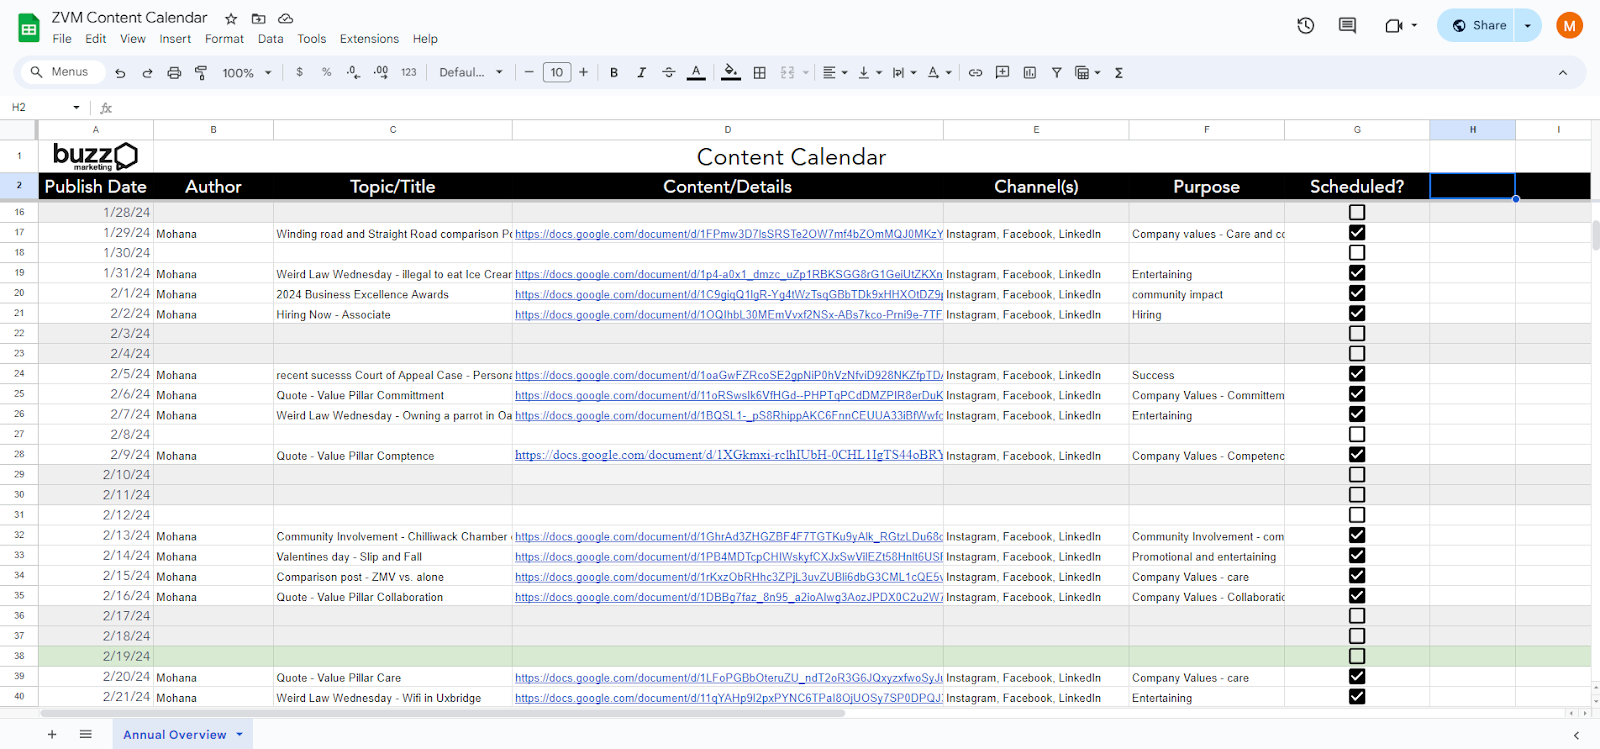
Image 1: Previous Post for Slip & Fall Service

Image 2: Post of Slip & Fall Service We Created

2. Create a Folder with the Social Media Brands Template in Canva
Using Canva, create 2 separate folders for the brand kit and brand templates. The brand template will generally include 5 to 6 templates of different posts discussed during the kickoff meeting. The brand kit will consist of the client logos, colour palette, fonts, photos, and graphics.
3. Create a Social Media Content Calendar on Google Sheets
Go to the client's folder on Google Drive and create a social media folder. Add a Google sheet to the social media folder and rename it Client Name Content Calander.
In the content calendar, name the first 7 columns: Publish Date, Author, Topic/Title, Content/Details, Channels, Purpose, and Schedule.
- Publish Date: The date you want to publish the post in the format month/day/year. Grey out the rows that weekends fall on and colour rows light green for stat/public holidays.
- Author: The name of the employee who worked on the post.
- Topic/Title: Title of the post.
- Content/Detail: Include the link to the Google doc that has the picture of the post, caption, and hashtags.
- Channels: Include social media platforms on which the post will be published (Instagram, Facebook, TikTok, etc.).
- Purpose: Include the post categories such as promotional, educational, engaging, information, and entertaining.
- Schedule: Include a checkbox that needs to be checked when posts are scheduled.
4. Gain Access to Clients' Social Media Accounts
Use the SEO/Social Media Collection canned response to email the clients for access to their social media accounts.
Edit the canned response to remove the SEO part and include only the details on social media. The ticket should request the client's social media account credentials. For those accounts where we can be added as an admin, please ask them to add us as a full user or admin. These accounts include Facebook and LinkedIn. Instagram and TikTok require credentials for access.
5. Connect the Social Media Accounts to the SEMrush Social Poster
After gaining access to their social media accounts, set the accounts up on SEMrush social poster. To do so, open SEMrush; under social media, click on the Social Poster. Click Connect to add all the social media accounts the client wants to post on. Adjust the setting accordingly.
To learn about configuring SEMrush social poster, read here.
SEMrush Credentials:
Username: buzzseoandgmb@gmail.com
Password: my6B3Js7'R[P(Tt%
6. Create the Social Media Post
Create 3 weeks' worth of content for the client using the brand templates. Open a Google document and paste the downloaded post with the captions and hashtags.
Provide 'anyone with the link' access. Copy and paste the Google Doc link into the content calendar. Do this for all the posts you have made for the 3 weeks.
7. Add the Posts to the Content Calander
Add the Google Doc links with the posts to the content calendar. Highlight the rows of the posts that need approval in yellow to avoid any confusion. Once the client approves the posts, you can remove the highlight. Fill out the respective columns correctly.
8. Send the Content Calander to the Client for Approval
Go to the client support thread in Teamwork Desk and draft a ticket for the client. Send the content calendar in the ticket with 'anyone with the link' access. Include notes and updates for the client.
9. Schedule the Posts
After the client approves the posts, make the necessary edits they suggested and schedule the posts using the social poster on SEMrush. Open the SEMrush social poster and click the date you would like to schedule your posts.
At the top, check all the social media platforms you would like to post to. Next, paste the caption and hashtags in the space where it says, '"paste a link or type something." Click the image button to add the post.
After you add the post and caption, click on the schedule tab and add the correct date and time you want to publish your post according to the content calendar. Double-check all the information and click Schedule.

10. Update the Content Calendar
After you schedule your posts on the SEMrush social poster, update the Schedule column in the content calendar. Make sure to remove the rows of posts that are now scheduled out.
11. Make the Next Round of Posts
Ensure you always have 2 weeks' worth of content scheduled out in advance. To do this, follow the same steps. Go back to the brainstorming notes on Teamwork Projects and make a post for the remaining ideas. Additionally, reach out to the client for specific ideas they might have. If you need more ideas, schedule another brainstorming session with your team.
12. Reschedule Posts
If the client wants to post something urgent on their social media, like a hiring post, move the existing one to the next available date. When you reschedule a post, update the SEMrush social post.
If the client changes their mind and wants to delete a post that has been posted or wants to change the caption, make sure to update them on all platforms. You might have to do it individually on each platform if changes to the social poster do not sync.