
Purpose
This policy explains the steps in creating an invoice for a project.
Application
This procedure applies to any member who will be sending out invoices on behalf of Buzz Marketing.
1. Find the Client Account
If the client is new, then a new profile must be created for them in Quickbooks.
To find the client, log into Quickbooks online.
Once you have logged in, you will be directed to the dashboard. Click the magnifying glass icon at the upper right-hand corner.

Type the customer name you are looking for. Depending on the word you type, a list of names and recent transactions that match the name will pop up. Click on the customer for whom you would like to create the invoice.

2. Create the Invoice
Once you choose a client, you will be directed to the client's dashboard. To create the invoice, click New Transaction and then Invoice.

The new invoice screen will appear.
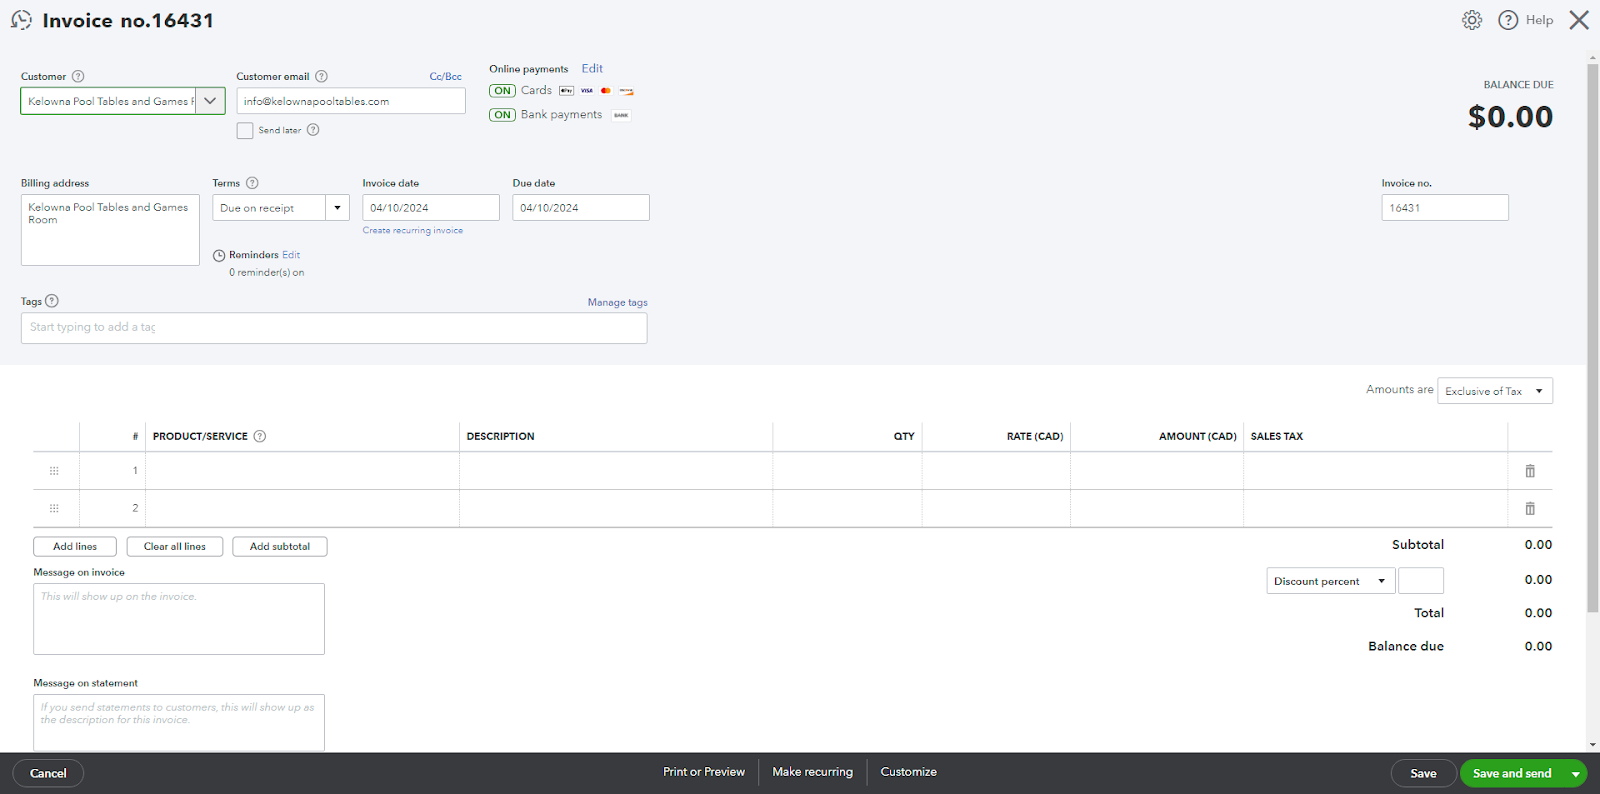
The invoice number will auto-populate following the sequence of the previous invoice that was created. Make sure that the date is the current date.
3. Choose the Product/Service
To start, click in the search box below the heading to choose the Product/Service that the customer is being billed for. Once you start typing, a list of related products/services will pop up. An example of a product is website design.
4. Add a Description
Next, add a description of the product/service.
Example: 50% of the 5-page website design cost
5. Fill in the Sections
Fill in the quantity, rate, and sales tax being charged.
Example: Charging 50% of 5-page website design cost.
- Quantity or QYT is 0.5.
- The rate will be the total cost of the website.
- The amount will be automatically calculated.
- The sales tax is usually just GST, except for clients in Ontario and other provinces that charge HST.
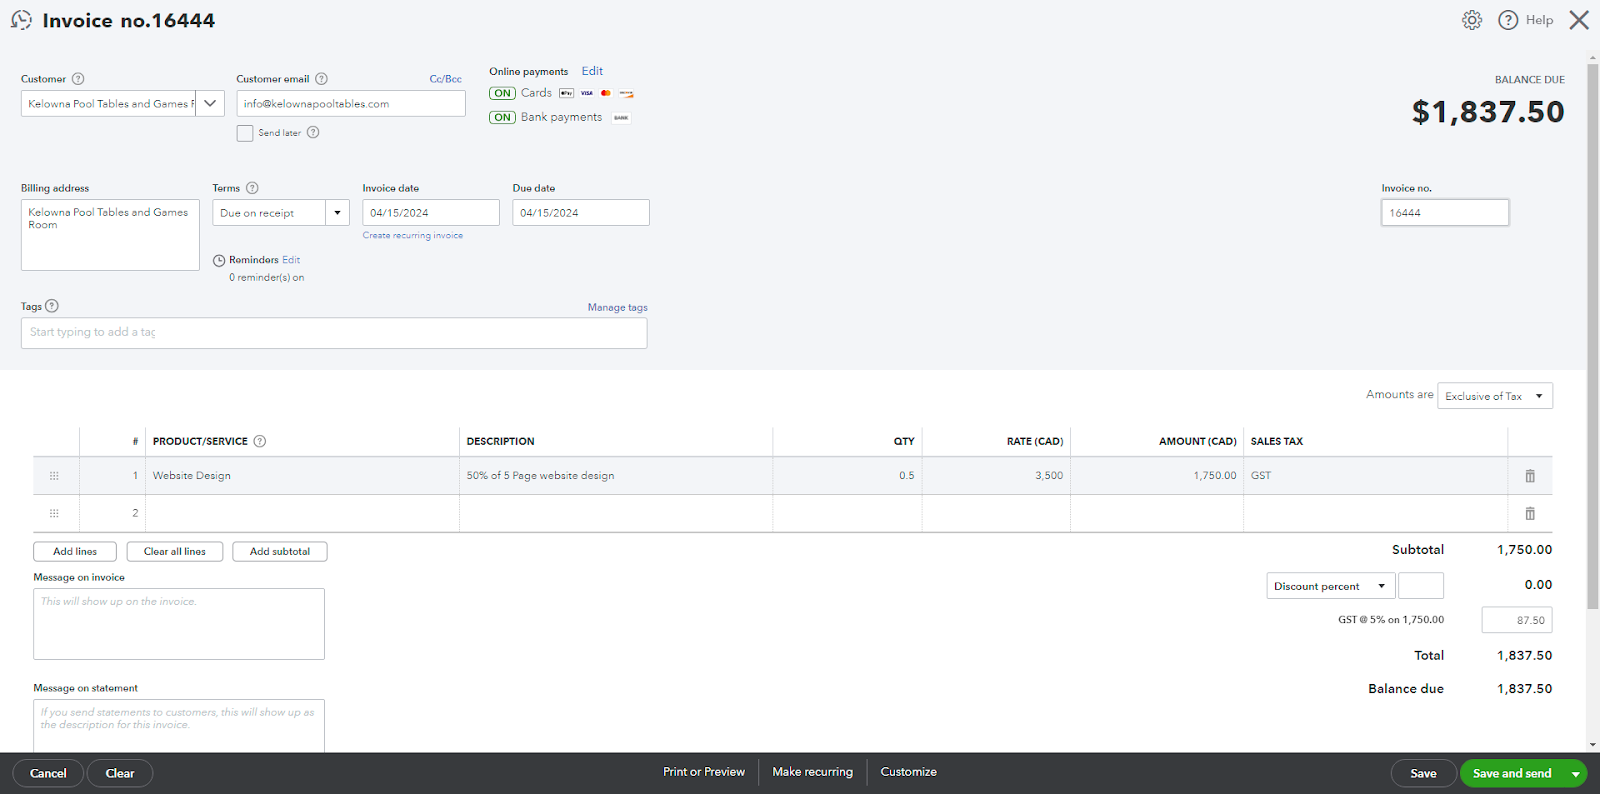
Once satisfied that everything is correct, click Save and send, which is found in the button in the right-hand corner.