
Purpose
This page will explain the process of reconciling the company's bank accounts and credit cards on a monthly basis. Reconciliation is done to ensure that all transactions shown on each statement have been reviewed and checked over to identify any errors that may later affect the company's tax and financial situation.
Application
The Bookkeeper/Office Admin is responsible for month-end reconciliation to review and check overall transactions.
Buzz Marketing uses QuickBooks accounting software to record all checks and balances from the bank and credit statement information. As Buzz evolved, new bank and credit card information was added. All bank and credit card statement charges are entered as expenses under the suppliers' category.
The current accounts for monthly reconciliation are (names in Quickbooks and 4 digits of the account number):
Ad Spend Account- 3715
Buzz PayPal
Main Chequing Account -0217
Savings Account- 2920
Scotia Momentum Visa- 2018
Scotialine Visa Card- 7011 (this card is not used monthly)
Tax Payment Account- 8413
1. Request the Statements from the General Manager
Send an email to support@buzzmarketing.ca requesting the statements for the previous month.
Subject line: Monthly Statements for .

The above email did not request a PayPal statement because the Office Admin will have access to it. The PayPal login information can be found on the Admin Credentials spreadsheet.
2. Start the Reconciliation Process in Quickbooks
Next, gather all the receipts/invoices to match the charges on the statements. Then, post all the charges to Quickbooks expense.
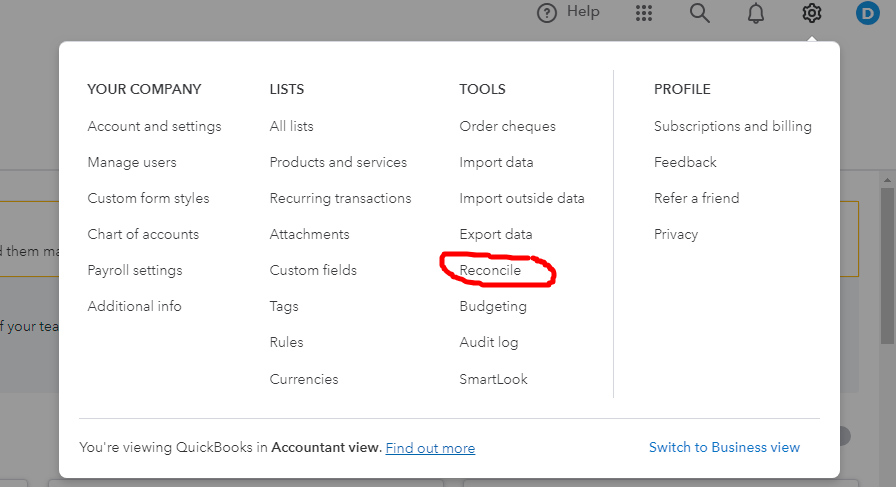
Log into Quickbooks, then go to the gear icon in the upper right-hand corner.

Under Tools, choose Reconcile.
3. Start the Reconciliation
You will need to choose the account to reconcile and add the requested information.
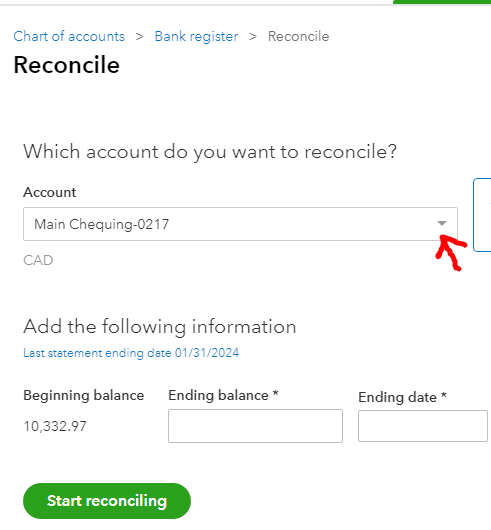
For the Main chequing:
- Beginning balance: This is already auto-populated because it was the ending balance for the previous month.
- Ending balance: This is found on the last page of the statement in the balance column.
- Ending date: This is found on the first page of the statement, at the top of the page where it states from, followed by a date period. For example, from Jan 31, 2024, to Feb 29, 2024.
Click Start reconciling.
Reconciliation aims to make sure that the difference is 0.
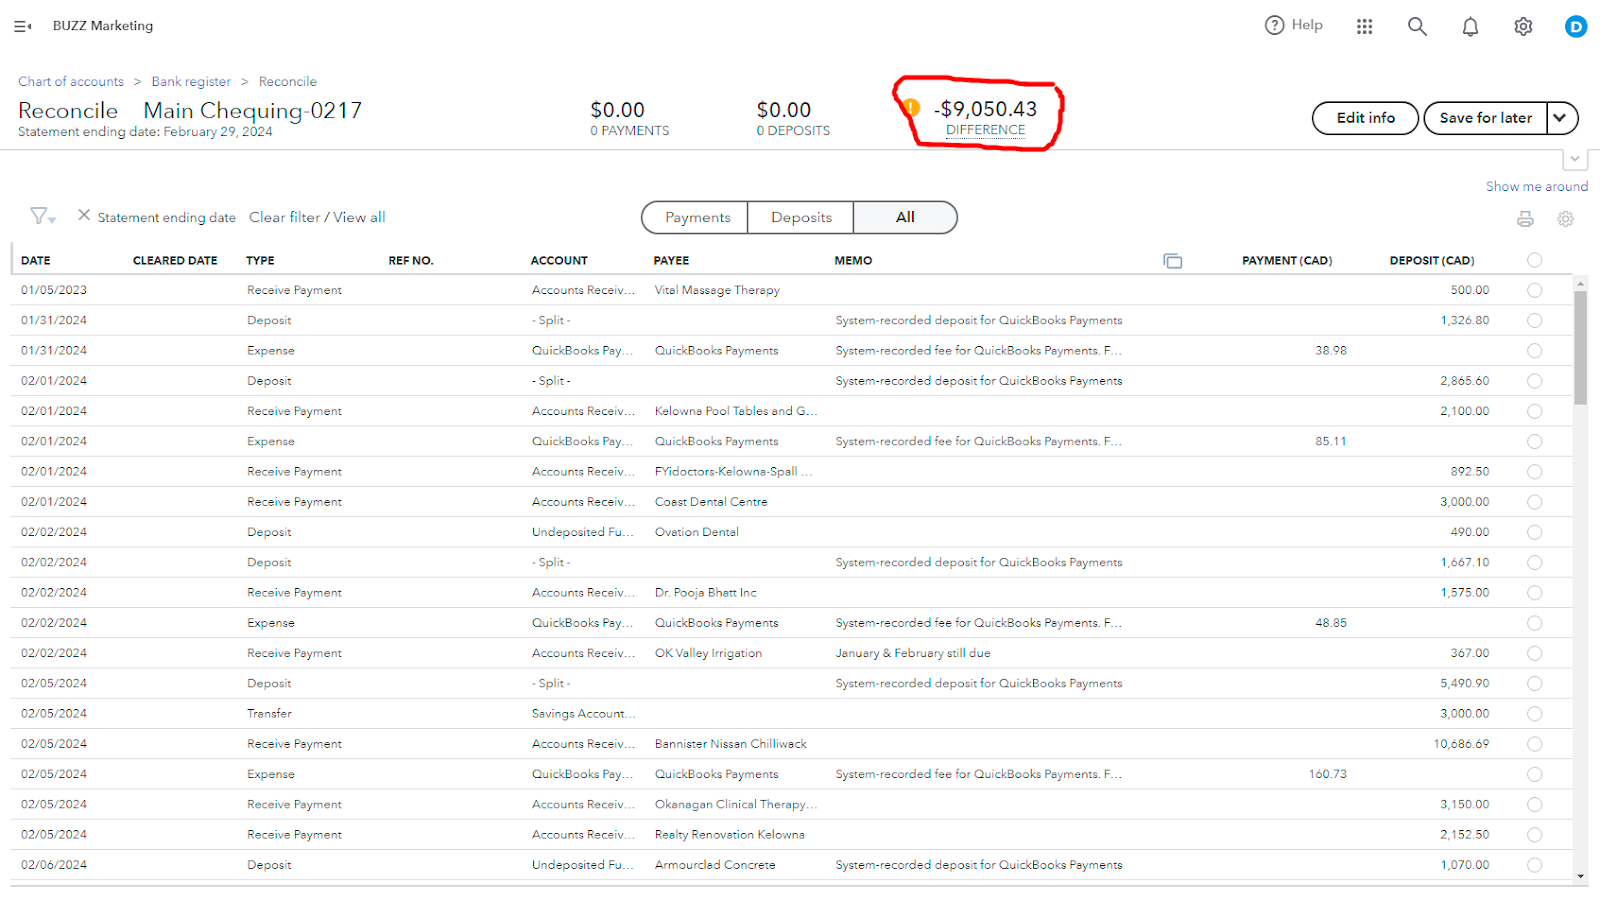
Before you start the check, you will notice the payments and deposits are 0. This will change once you start matching the information from the paper statement on hand to what is online.
Do this one category at a time so as not to be confused with all the information. To start with the payments, just click the payments button. This shows only the withdrawals/debits on the paper statement. Go through each transaction on the paper statement by ticking off each one online if it matches the data and amount.
The button to tick is located at the far right of the screen.

Go through the same process for the deposits; these will be the deposits/credits on the paper statement.
*Note: You can always Save for later if you are unable to get it all completed in one sitting.
If, for some reason, the difference is not 0, you have to go over the list of transactions that were manually posted to make sure they were done correctly. If one of them was posted incorrectly, click on it and press edit to make the correction.
The difference will not be 0 if the incorrect ending balance is entered, so this is also one area to check. To check this, use the edit info button.
The edit info at the top right-hand corner is used when the incorrect ending balance or date is inputted.

4. Finish Reconciliation
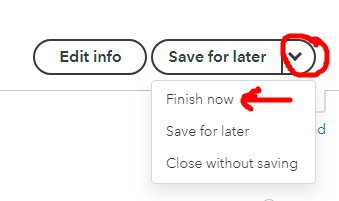
After both sides are ticked off, if everything matches, the differences should be 0. If this is the case, you can finish the reconciliation by clicking the down arrow beside Save for later, and choose Finish now.
Save a copy of the reconciliation report for your records.
5. Getting a Copy of the Reconciliation Report
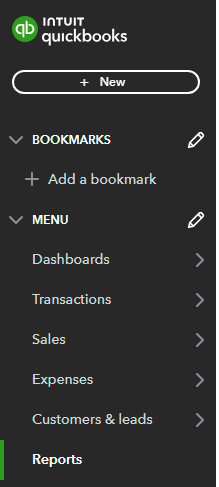
Go to the Quickbooks menu on the far left side and choose Reports.
The standard reports screen will open. If the reconciliation report is not saved in the Favourites, which will be the first category of reports, then scroll down to the category For my accountant. The reconciliation report will be found in this category.
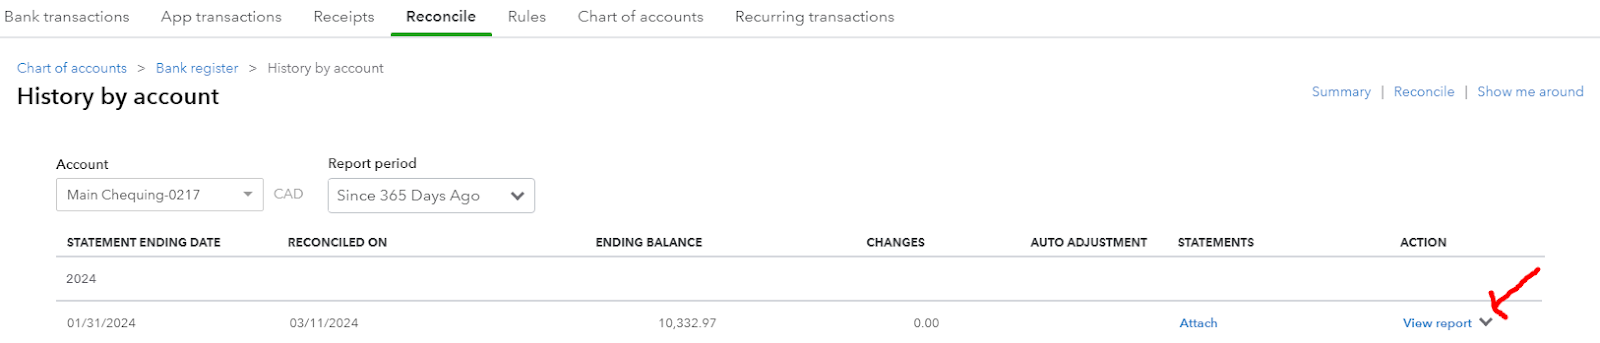
Click the report to open it. It will always open to the last account for which the reconciliation was completed, but if not, just click the arrow at Account to search for the account for which you want to report.

At the view report arrow, choose print. From there, you can save it as a pdf or print it.
6. Other Account Reconciliation
The reconciliation process for the other accounts is the same. The only difference is at the start, where you enter the ending balance and date.
For the Ad Spend Account, Tax Payment Account, and Saving Account, the reconciliation pages look slightly different.
There is a section to add service charges and interest earned because these accounts are types of savings accounts that earn interest.
You do not have to enter anything into these sections if you have already posted the interest and service charge in Quickbooks while posting the other expenses and transactions.

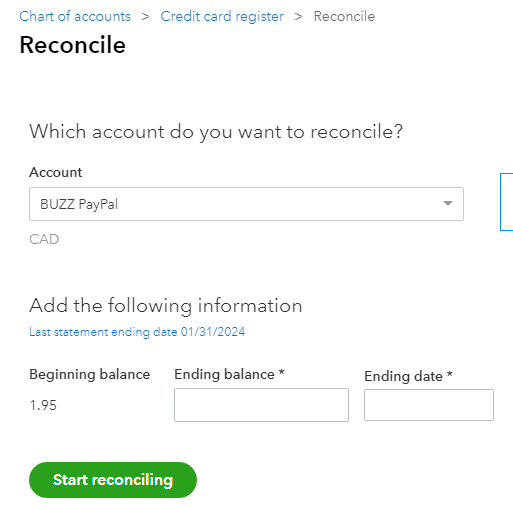
For a PayPal account, the beginning and ending balance is usually 0 because this type of account doesn't carry a balance like a regular bank account or credit card. PayPal accounts allow Buzz to send or pay a bill to anyone worldwide. A bank account or credit card will be linked to the PayPal account to facilitate the payment.
However, the Buzz PayPal account has a balance of $1.95. This will always be the beginning and ending balance each month.
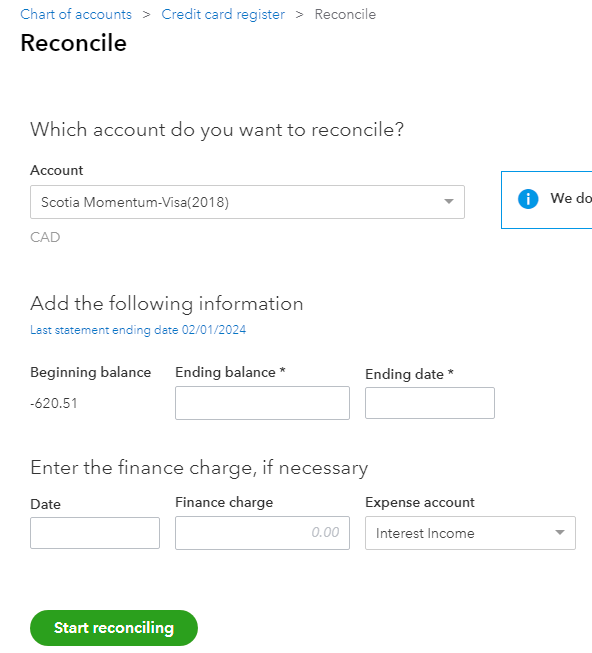
For the credit card and Scotia Momentum Visa or any credit card the company is currently using, the ending balance is shown on the statement as the new balance. Please note that if there is a credit balance which will have CR at the end, this will be entered as a negative amount for the ending balance. For example, the statement shows a new balance of 363.72 CR. This will be an ending balance of -363.27.
The ending date will be the statement date. The finance charge would include charges like the credit card annual fee.
To complete the month-end reconciliation, follow all the steps after starting reconciliation, as shown for the Main Chequing Account, for all the other accounts.